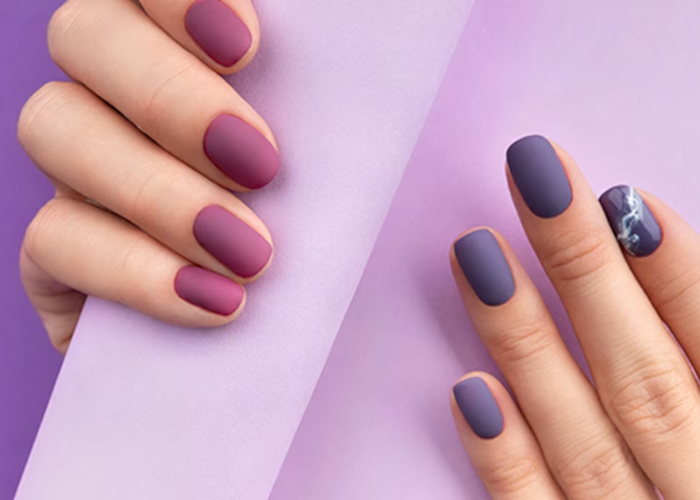
Gel nail polish has gained immense popularity recently due to its long-lasting and chip-resistant properties. Unlike regular nail enamel, gel polish requires curing under a UV or LED lamp, resulting in a glossy and durable finish. While visiting a salon for a gel manicure is an option, learning how to apply nail polish at home using a gel nail polish kit can save time and money. This article will explore some valuable tips and tricks to help you achieve a flawless and professional-looking manicure right in your home.
Preparation
Before diving into the application process, it is crucial to prepare your nails properly. Start by removing any existing nail enamel using an acetone-based remover. Next, shape your nails using a file, ensuring they are all the same length and neatly rounded. Gently push back your cuticles, not damaging the skin around your nails. Finally, buff the surface of your nails lightly to create a smooth canvas for the application.
Base Coat Application
Applying a base coat is essential for protecting your natural nails and ensuring the longevity of your gel manicure. Apply a thin layer of the base coat to each nail, covering the entire surface. Avoid getting the base coat on your cuticles or the surrounding skin, which can cause lifting and peeling. Once applied, place your nails under the UV or LED lamp for the recommended curing time specified by the manufacturer.
Colour Coat Application
Now comes the fun part – applying the colour coat! Select your desired nail polish shade and mix it well before use. Using a steady hand, apply a thin and even layer to each nail, starting from the cuticle area and working your way towards the tip. Don’t flood the cuticles or apply too much product, leading to uneven results. Once all your nails are coated, cure them under the lamp according to the recommended time provided by the gel polish brand.
Second Color Coat (Optional)
A second coat of colour is often recommended for a more vibrant and opaque result. After curing the first colour coat, repeat the process by applying another thin and even layer of gel polish to each nail. This step helps to intensify the colour and ensures a smoother, more consistent finish. Remember to repeatedly cure your nails under the lamp for the specified time.
Top Coat Application
The top coat is essential to seal your nail polish and give it that high-shine finish. Apply a thin layer to each nail. Make sure to cap the free edge as well. The top coat helps protect your colour and adds durability to your manicure. Once applied, cure your nails under the lamp for the final time, following the recommended curing time provided by the manufacturer.
Final Steps and Maintenance
After curing your nails for the final time, let them cool for a few minutes. Once dry, remove any residual tacky layer once dry by wiping each nail with a lint-free wipe soaked in isopropyl alcohol or a gel cleanser. This step will reveal the true shine and brilliance of your manicure. Apply cuticle oil daily to nourish your nails and cuticles to maintain your manicure. Avoid using your nails as tools to prevent chipping or peeling, and wear gloves when doing household chores that may expose your nails to harsh chemicals.
Conclusion
With these tips and tricks, you can apply gel nail polish like a pro using a gel nail polish kit. Prepare your nails, apply thin coats, and cure each layer under the UV or LED lamp. Properly maintaining your manicure allows you to enjoy beautiful, chip-free nails for weeks. So experiment with different colours and designs, and embrace the joy of a perfect gel manicure right at home.


